Tips for germinating Dye Plants (and more)

A scene from the germination period in SF's old studio, where there was no outside space. Yet thousands of plants have sprung up here!
I don't know if you've noticed, but it already smells like spring outside!
And spring, around here, means starting to plan sowings. For some time now, we've had some seeds of our own dye plants available in our online store, but as not everyone has a lot of experience in sowing and planting some species that have specific needs, here's a post with some tips for you to have a lot of success in your sowings on that side!
These tips are intended to make sowing easier for amateurs and those who (still) know little or nothing about it. They're for those with limited conditions to understand that it's perfectly possible to germinate and have plants in pots or planting bags. If you have land and a farm, they can also be useful, of course.
Another thing you should know: in the field of agriculture, the germination part is almost always left to specialized nurseries, precisely because it requires knowledge, conditions and a few tricks. Germinating plants and getting them to grow healthily is an art!
First, here are some general tips on seeds and germination:
#1: Make sure the seeds are fresh and have some guarantee of quality
A seed is a reserve of life, but that reserve doesn't last forever. The durability of a seed can vary enormously, depending not only on the conditions in which it is stored, but also on the species itself.
When buying seeds, try to find out when the seeds were harvested, what species/variety they are and whether the seller has experience with that plant, in this case in dyeing.
#2: All seeds have their own peculiarities
Seeds of different species have different requirements in order to germinate. Don't forget that the seed is a device that is waiting for the ideal conditions so that it can become life with a guarantee that it has a future.
Our role is to understand what it needs and provide it. Before burying seeds in the ground, research the plant and its needs: not only do you need to get it to germinate, but you also need to ensure that it grows well during the first few weeks of its life, which are the most critical.
#3: Sowing seasons
Around here, sowing/planting is concentrated in spring. I don't sow at other times of the year, even for those species that allow it. I only start in mid-March, because I aim to plant in late April/early May, so as not to coincide with the sowing of the flax and because I don't like fighting the weather.
Temperature is a very important factor and if the temperatures are too low, the plants won't germinate or grow as quickly.
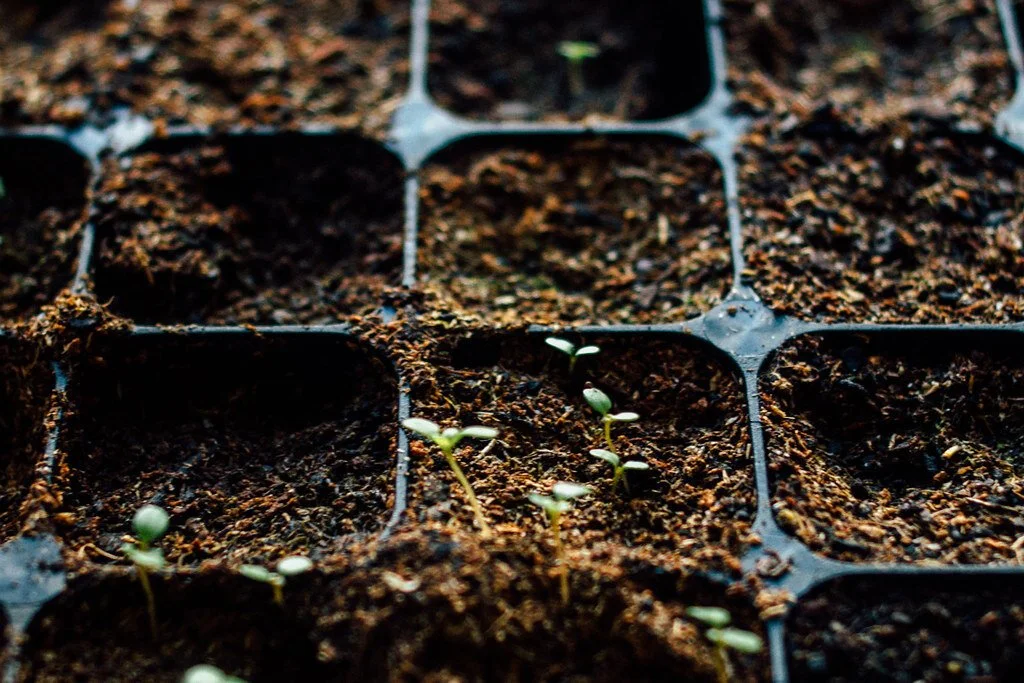
#4: Germination substrate
The substrate is the “soil” you will use to plant your little plants. I strongly advise you to buy a special germination substrate in any specialty store.
#5: Containers for sowing
My preference is always to germinate the dye plants in trays/containers and then plant them in the desired location with the necessary arrangement.
I don't like cardboard trays/containers because the substrate dries out more quickly and requires more maintenance. You can use small pots or other plastic containers, as long as they have holes in the bottom for draining excess water and watering. If you're buying trays, choose one with large wells and made of high-quality plastic, so that they last for many years. Use trays with large holes so that the plant has more room to grow before planting.
On a small scale, and in the case of the species I'm describing here, I don't think it's a good idea to sow directly into the ground, as the success rate will be lower.
#6: Humidity
An essential condition for germination is exposing the seed to moisture, which will break its dormancy.
You need to keep the substrate moist, but not too much (too much moisture can cause fungus to grow. Without humidity, there is no germination).
What always works well for me is to immerse the tray (already filled with substrate) in a container of water until the soil is completely damp, without being waterlogged (important!). If it gets too wet, press down on the soil to expel the excess water. This is also how I water the trays during this phase.
A very common mistake is to sow the seeds and then give them a quick watering, which doesn't leave the substrate evenly moist.
#7: Depth
Pay attention to how deep you bury the seed. It should be proportional to the size of the seed.
If the seed is left too deep, it may not germinate because it is not in contact with moisture, or if it does germinate, it will become poorly rooted and the plant will tend to topple over. If you bury it too deep, it may not reach the surface. Use common sense and think like a seed that needs to be able to take root well, but also to emerge on the surface!
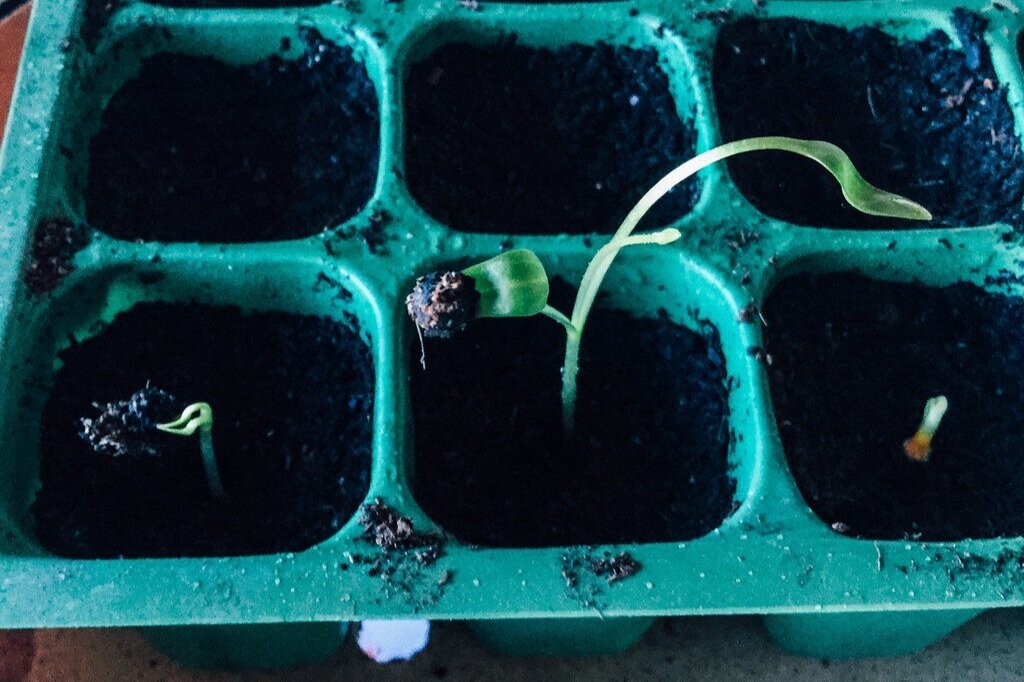
#8: Between germination and planting
The period between germination and planting is the most critical. With proper attention, it's not difficult to get seeds to germinate, but it can be tricky to get them to grow well before planting day. It is during this period that they are at their most fragile.
It's good to keep them in a place protected from the wind, excessive cold or excessive heat. You also need to make sure they get plenty of light, otherwise they can end up being too tall and too thin-stemmed (not very robust).
It varies a lot, as some plants grow faster than others and the weather conditions have a big influence, but after about a month and a half I usually plant them out.
#9: Solutions for those who want to grow them but don't have the land
If you don't have any land and still want to try your hand at growing dye plants, you can explore other alternatives. A small balcony is enough to grow a lot of things. Many species do well in large pots and planters, but you can also try growing bags like this one, which usually give excellent results!
•••
Now for the second part, with some more specific information on the dye plants that I consider most important:

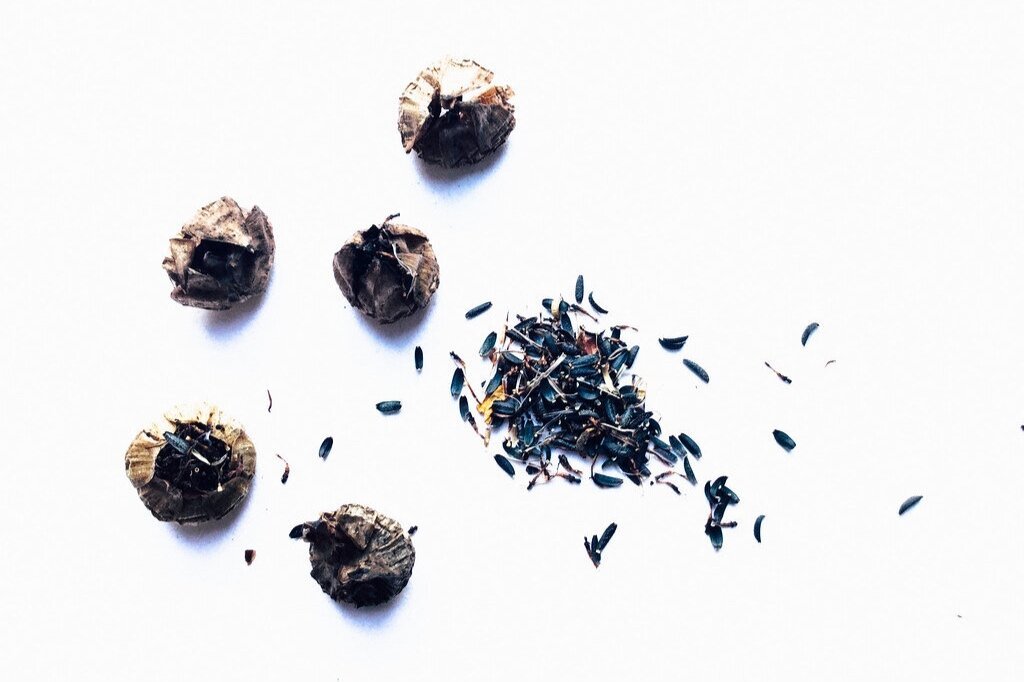
Woad (Isatis tinctoria)

Woad in the rosette stage;

Woad seeds starting to mature;

Woad starting to bolt in spring, just a few weeks away from flowering and later producing seeds;

Woad seeds;


A woad plant on the day of planting;
Woad is not difficult to germinate. If the seeds are good and we give them a little help, they start sprouting in less than a week.
There is just one thing I do because it speeds up germination significantly: the Isatis seed is inside that capsule, which has a bluish, leaf-like shape. Before sowing, I open the capsule by tearing it in half and remove the actual seed, which is small, oval, and yellow/orange in color.
By sowing only what matters, germination is much faster and hassle-free. Then, I bury them in the seed tray cell, pressing lightly with my finger to ensure the seed is well surrounded by the moist substrate.
Madder (Rubia tinctorum)

Madder;

Madder seeds;
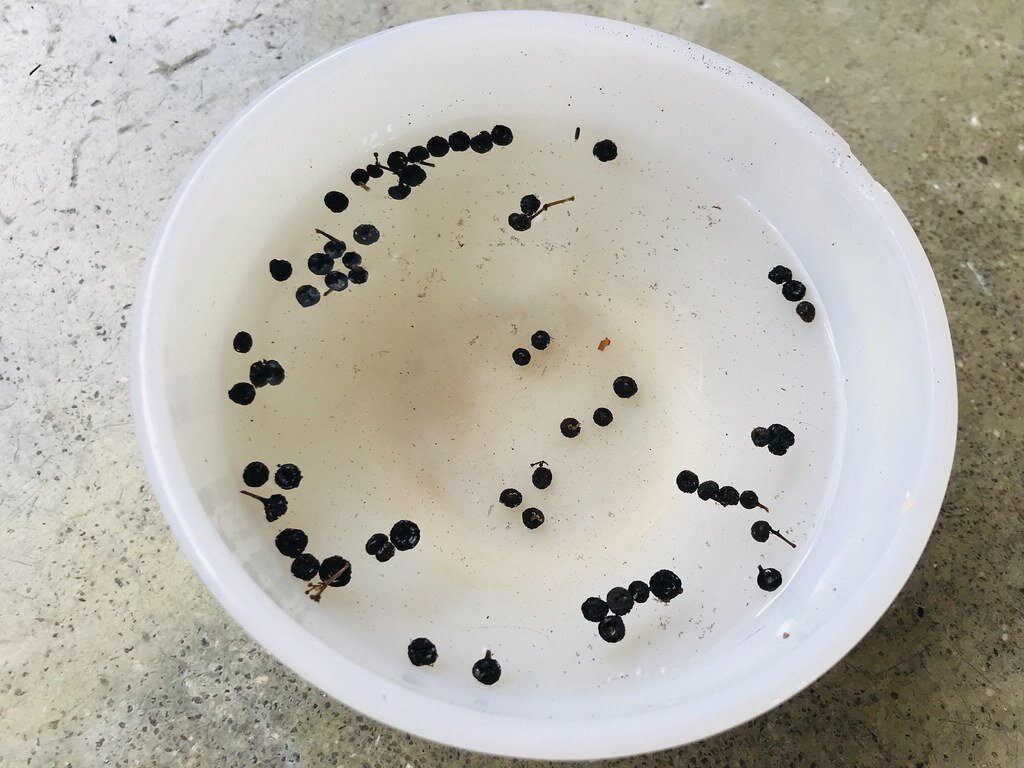

Madder seeds emerging on the plant;


The Madder seeds are those little berries that appear at the height of summer and turn into little black stones when they dry out. The seed coat (outer layer) is quite hard, so to facilitate and speed up germination I do two things: scarify and soak.
Scarifying consists of breaking down the seed coat to make it easier for moisture to get inside and thus break the seed's dormancy. There are many ways of doing this, but my favorite is with a sharp bladed knife, with which I lightly scrape the surface of the seed. Obviously, you have to be very careful when doing this so as not to damage the seed. Sometimes a nail file is enough. If you don't want to risk it, simply soak the seeds as I describe below.
The day before sowing, I soak the seeds in warm water to soften the outer layer (this is also considered a scarification technique). If you notice, the water turns a slight shade of pink, revealing the color Madder will give us!
To sow: well-damp substrate, bury the seed to an acceptable depth and wait.
Madder takes a little longer to germinate than the others. The first ones start to appear after about 1 1/2 - 2 weeks.
Weld (Reseda luteola)

Welds still in the field;

Welds containing ripe seeds;

Weld seeds are little black balls smaller than pinheads;

Weld seeds;
Freshly sprouted Welds;

Weld seeds are smaller than the head of a pin. They don't need to be soaked or anything else before sowing, but they do have one important specificity: they need light to germinate. Therefore, these seeds are not buried. I spread them on the surface of the already damp substrate and then press down on the surface to envelop them in moisture.
After a week they should start to germinate, but they can take longer.
s the seeds are microscopic, they are more or less sprinkled on the substrate and, as a result, end up germinating more than we need. Because of this, you can prick out the extra ones and put them in other pots/trays if you don't want to waste them.
Like Woad, Weld is also a plant with an upright root. It is better to use trays with large/deep cells so the root has space to grow vertically.
Coreopsis tinctoria

Coreopsis tinctoria;
Coreopsis seeds;
Coreopsis seeds are very easy to germinate and ideal for those who just want to throw the seeds in the ground and not think about it again until it's time to pick the flowers!
All you have to do is follow the same instructions I gave you for the Weld, but they can be buried a little deeper. They germinate very quickly, will grow well until planting and will give you lots of joy!
Indian Indigo (Indigofera tinctoria)

Small Indigofera beans, already swollen from the humidity, about to germinate;

Starting in a coffee filter greatly accelerates the germination of Indigoferas;

Micro-germination greenhouses made from ziplock bags;

Young indigoferas (2018);
Indigofera seeds, whatever the variety (tinctoria, suffruticosa...), are very hard micro-beans. I don't make it easy with these in terms of quality: they have to be fresh and guaranteed so there are no frustrations. To germinate them quickly, I try to scarify them (I scrape a bit of the surface with a knife) and soak them overnight. Then, to speed up the process, I place them inside damp coffee filters and keep them in a plastic bag filled with air (micro-greenhouse). After 3 or 4 days, they should have started to germinate. And look how blue the seeds are!
When the roots are about 1cm long, I put them in the substrate (root side down) and let them grow!
Indigoferas like humid and warm climates, so they won't grow easily in low/warm temperatures like those in our country, unless they're in a greenhouse.
Japanese indigo (Persicaria tinctoria)


The trick with Japanese Indigo is to make sure the seeds were harvested last season. Persicaria tinctoria seeds are notorious for losing their viability very quickly. If you don't use the ones you harvested last season, they most likely won't germinate the following year.
Apart from this small detail, they are quite easy to germinate. Just follow the general instructions and in about a week you should start to see action on the tray.